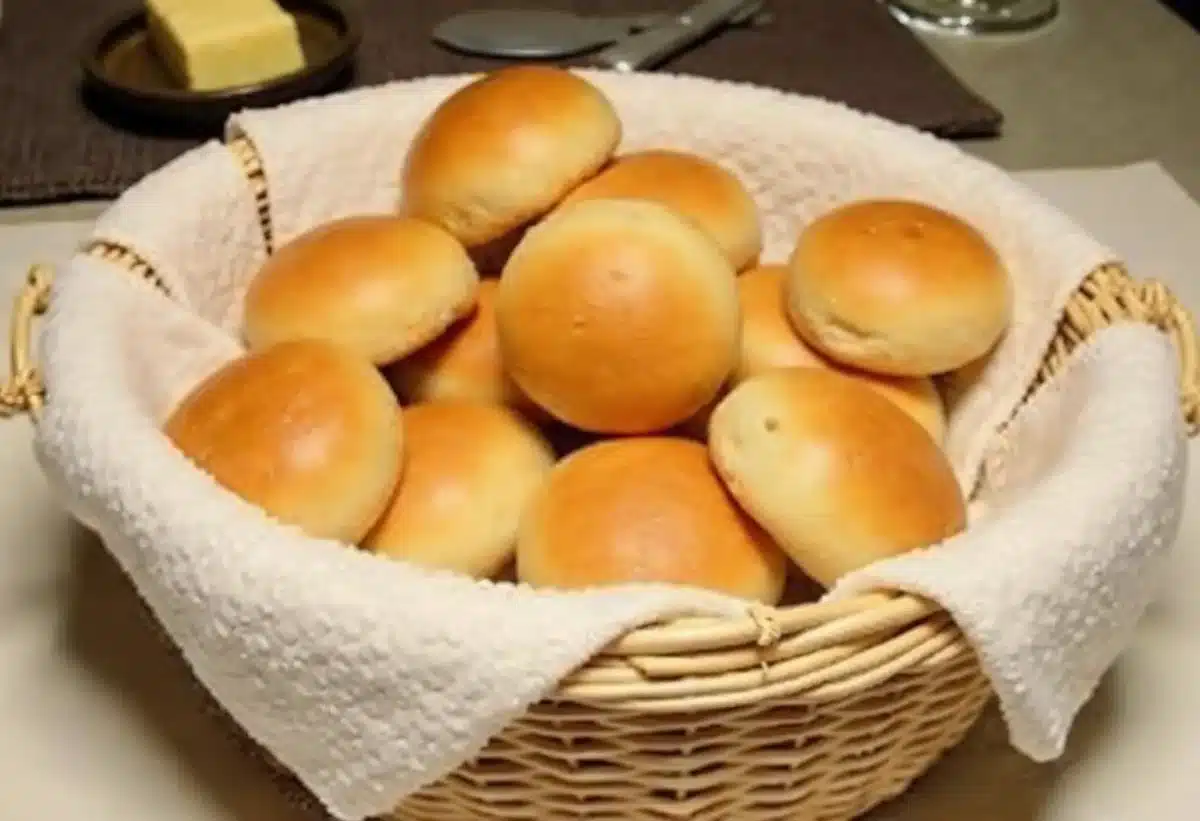
There’s something undeniably magical about light dinner rolls, those delightful pillows of dough that seem to melt in your mouth. Whether it’s a Thanksgiving dinner, a Sunday family gathering, or just a normal Tuesday because, well, why not? light dinner rolls always have a way of making the ordinary feel extraordinary. But how does one achieve that perfect balance of soft and fluffy? Fear not, aspiring bread connoisseurs, for today we embark on a journey to uncover the secrets of making the top homemade dinner rolls and to know why my homemade rolls are not fluffy?
What is the Secret to Making Fluffy Dinner Rolls?
How Does Yeast Affect Fluffiness?
Yeast is the unsung hero of the bread world, the tiny organism that makes light dinner rolls, well, fluffy! It’s like that friend who always brings the top snacks to the party, ensuring everyone has a good time. When active dry yeast or instant yeast is added to your roll recipe, it consumes the sugars in the flour and produces carbon dioxide. This process is what causes the dough to rise and become light and fluffy. If the yeast doesn’t do its job, your bread rolls will be flatter than last year’s party balloons. So, make sure your yeast is active and ready to mingle!
Want to save this recipe?
Enter your email to get it sent to your inbox! Plus you'll get new recipes from us every week.
What Ingredients Contribute to Soft and Fluffy Rolls?

Ah, the alchemy of baking! To make the top dinner rolls, you’ll need the right combination of ingredients. Bread flour or all-purpose flour is your base, but don’t forget the supporting cast of characters: a tablespoon of sugar for a touch of sweetness, a pinch of salt to enhance flavor, and a bit of butter to keep things soft and fluffy. Milk or water will help bring the dough together, while an egg wash before baking gives that golden brown finish. Be mindful of the salt and yeast; they’re like frenemies—they need each other, but too much together can spell disaster!
How Important is the Proofing Process?
The proofing process is like letting the dough take a spa day. This is when you allow the dough to rise, giving the yeast time to work its magic. Proofing is crucial because it develops the dough’s flavor and texture. Without enough proofing, your rolls might not rise in a warm and fluffy way. To proof, let the dough rise in a warm place until it has doubled in size. This is the dough’s way of saying, “I’m ready to party!”
How to Make the Dough for Fluffy Dinner Rolls?
What is the Best Flour to Use?
Choosing the right type of flour is like deciding between wearing pajamas or a tuxedo to a formal dinner. Bread flour is often the top choice when making rolls, as it has a higher protein content that helps develop gluten. This gluten network traps the gases produced by the yeast, resulting in a chewy and structured roll. However, all-purpose flour can be used as a substitute if you prefer a softer texture. Either way, your dinner rolls will still be the star of the show!
How Do You Knead Dough for the Perfect Texture?

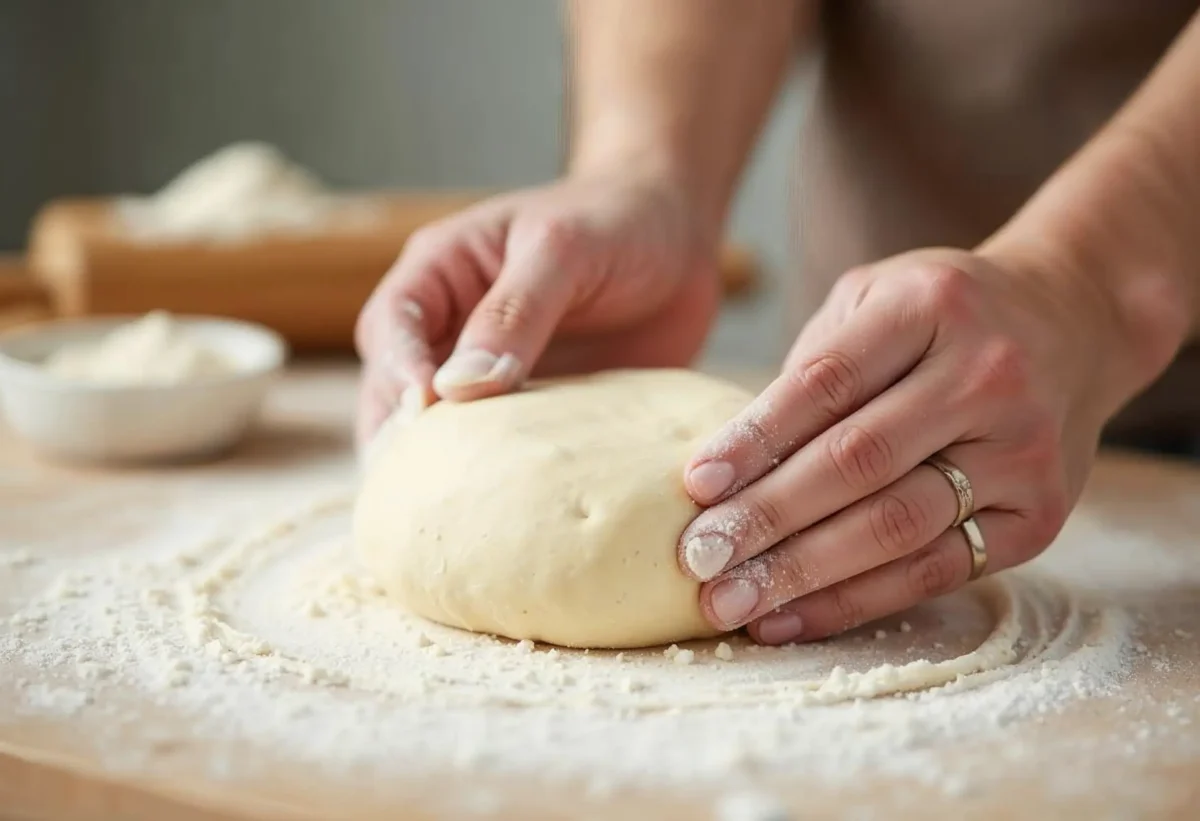
Kneading dough is akin to giving it a deep-tissue massage. It’s a workout for your hands and the dough alike! Kneading helps develop gluten, giving the rolls their signature chewiness. Use a dough hook if you prefer a hands-off approach, or get in there with those forearms and knead by hand. The goal is to achieve a smooth, elastic texture. You’ll know it’s ready when the dough springs back like a well-rested cat after a nap.
How Much Flour Should Be Added to Avoid Dryness?
Nobody likes a dry roll—it’s like biting into a mouthful of disappointment. To avoid this, be cautious with how much flour you add. Start with the amount specified in your roll recipe, but add a little more if the dough is too sticky. The key is finding that Goldilocks balance: not too dry, not too sticky, but just right. Remember, you can always add more flour, but you can’t take it out!
How to Properly Let the Dough Rise?
What is the Ideal Temperature for Dough Rising?
Temperature is the silent conductor of the dough-rise symphony. The ideal temperature for dough rising is a warm, cozy environment, around 75°F to 85°F (24°C to 29°C). This encourages the yeast to work efficiently without overheating. If your kitchen is chilly, try placing the dough in the oven with just the light on. The gentle warmth will make the dough feel like it’s on a tropical vacation.
How Long Should Dough Be Left to Rise?
Patience is key when letting the dough rise. The dough should be allowed to rise until it has doubled in size, which can take anywhere from one to two hours, depending on the room’s temperature. Think of it as giving the dough a well-deserved nap. Rushed dough will be grumpy and flat, while well-rested dough will be fluffy and full of joy!
Should You Cover the Dough with Plastic Wrap?
Covering the dough with plastic wrap during rising is like tucking it in with a cozy blanket. It prevents the surface from drying out and forming an unappetizing crust. If you’re trying to reduce plastic use, a damp towel works just as well. Either way, the dough will appreciate the snug covering as it rises to its full potential.
What are the Best Baking Practices for Dinner Rolls?
How Can You Tell When Rolls are Golden Brown?
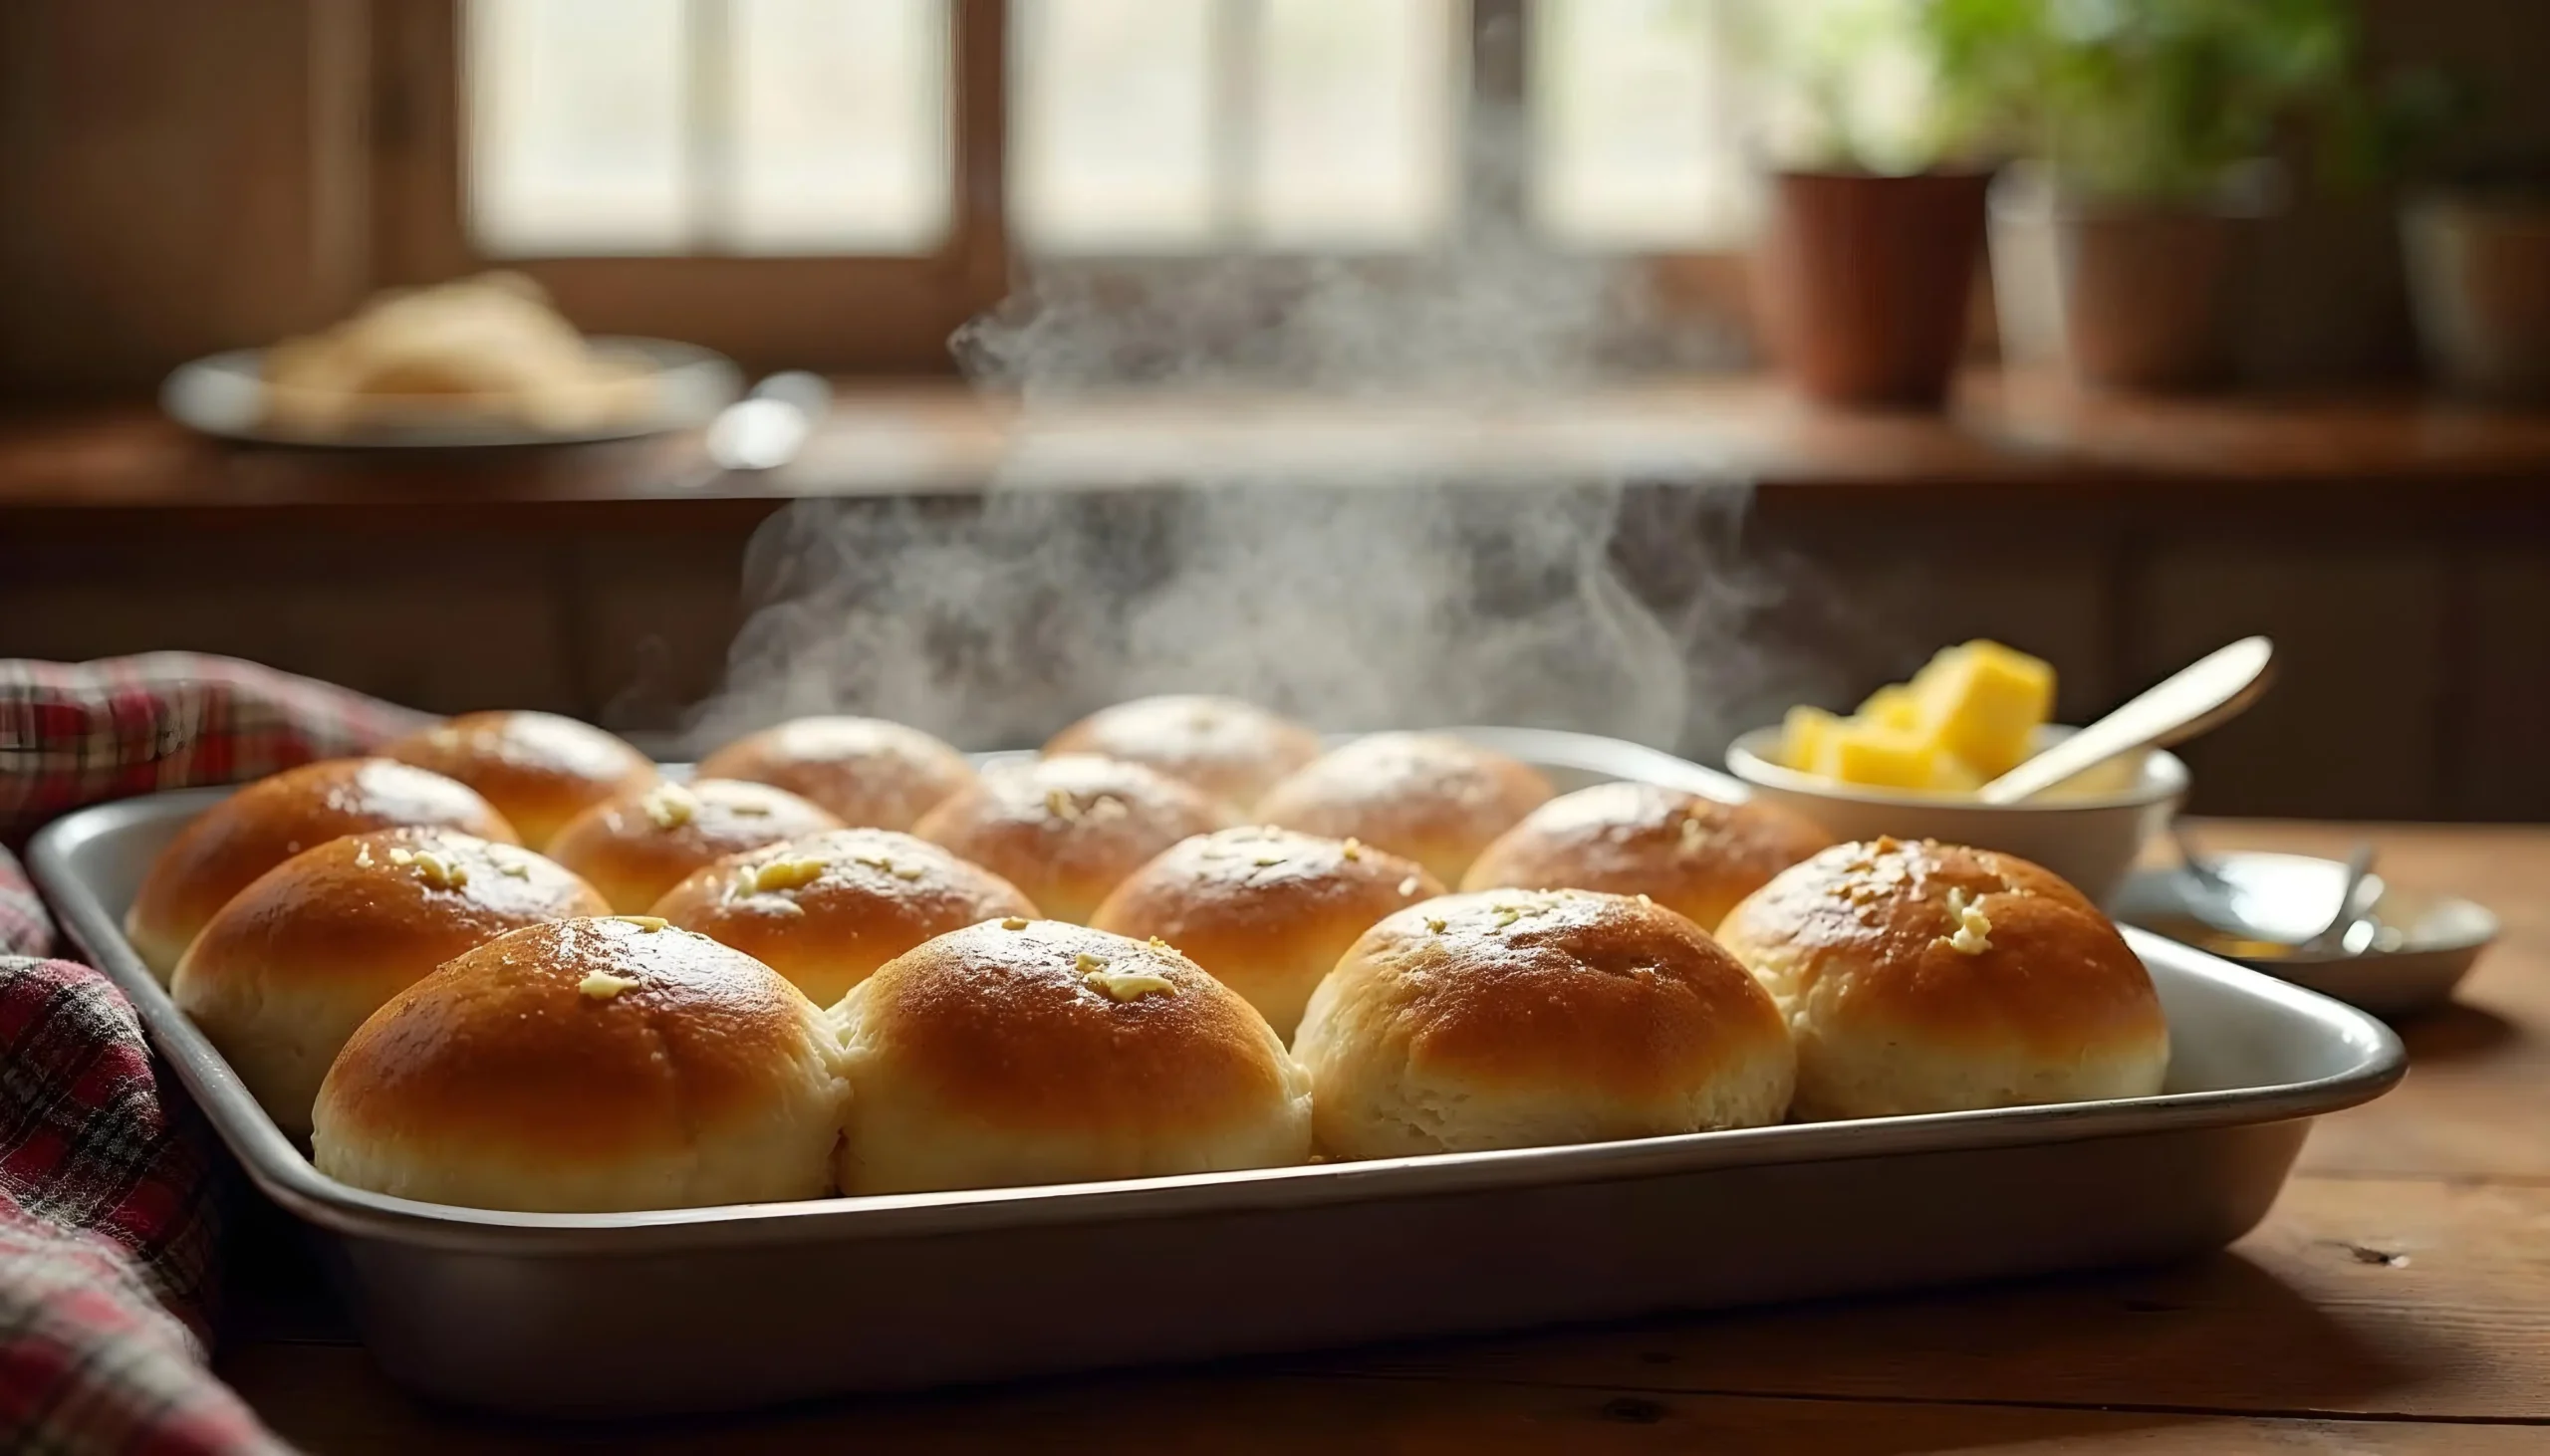
The hallmark of perfectly baked dinner rolls is that alluring golden brown hue, like the sun setting on a perfect day. Keep an eye on the color during baking; when the tops are rich, golden brown, your rolls are ready. If you’re unsure, a gentle tap on the top should sound hollow, like knocking on a door to flavor town.
What is the Optimal Baking Temperature?
Set your oven to a temp of 375°F (190°C) for the optimal baking experience. This temperature allows the rolls to bake evenly, ensuring a soft interior and a slightly crispy exterior. Baking at too low a temp will yield pale, sad rolls, while too high can lead to burnt bottoms. And nobody wants a burnt bottom, especially not your rolls!
Should Rolls Be Baked in a Preheated Oven?
Yes, yes, a thousand times yes! Baking rolls in a preheated oven is crucial. It’s like starting a race with a head start. The initial burst of heat helps the rolls rise quickly, achieving that light and fluffy texture. So, preheat your oven and get those rolls ready for glory!
How to Keep Dinner Rolls Soft and Fluffy After Baking?
What is the Best Way to Store Rolls?
Once your light dinner rolls emerge from the oven, you’ll want to keep them soft and fluffy, like clouds in a bread basket. Store them in an airtight container or a bread box to maintain their moisture. If you can resist eating them all at once, that is!
Can Rolls Be Reheated Without Losing Fluffiness?
Yes, rolls can be reheated without sacrificing their fluffiness! Wrap them in foil and pop them in the oven at 300°F (149°C) for about 10 minutes. This gentle reheating will ensure they stay soft and warm, ready for butter or any spread of your choice. Just be careful not to overheat, or you’ll end up with rolls as hard as your last attempt at a DIY project.
How Long Do Soft Dinner Rolls Last?
In a perfect world, soft dinner rolls would last forever. In reality, they’re top enjoyed within a few days of baking. Stored properly, they can last up to five days, but we both know they’ll be devoured long before then. If you somehow manage to have leftovers, consider freezing them for a future roll emergency!
Q: What’s the secret to making perfect dinner rolls that are light and airy?
A: Ah, the age-old quest for the perfect dinner rolls! To achieve light and airy rolls, it’s essential to let the dough rise until doubles in size. This helps to make the rolls fluffier. Also, using a mixer fitted with the dough hook can ensure the dough is smooth and elastic. Let the rolls rise in a warm place, and don’t forget the love (and maybe a little butter).
Q: When I try a new recipe, my rolls aren’t as fluffy as I’d hoped. What gives?
A: Oh, the dreaded dense roll! If your rolls aren’t fluffier than a cloud, it might be due to the rising time. Ensure you let the rolls rise until doubled. Also, check that your warm liquid is not too hot, as it can kill the yeast. Remember, patience is a virtue, even when it comes to bread.
Q: Can these rolls be made ahead of time?
A: Absolutely! These rolls can be made ahead and stored in the fridge. Just follow the recipe up to the first rise, then cover and refrigerate the dough. When you’re ready to bake, take the rolls out and let them rise until doubled before popping them into the oven.
Q: What should the dough feel like when it’s ready?
A: When the dough is ready, it should feel smooth and elastic, with a slight tacky texture. If your dough is sticking to everything like a clingy ex, add a little flour. If it’s dry and cracked, a touch more warm liquid should do the trick.
Q: How do I know when my rolls are ready to bake?
A: Your rolls are ready to bake once they’ve risen to about double their size and are nice and puffy. They should look like they’ve been on a promising date with a warm breeze. Pop them in the oven and let the magic happen for the minutes called for in the recipe.
Q: Can I make these rolls with whole wheat flour?
A: Yes, indeed! You can substitute whole wheat flour for a portion of the all-purpose flour if you want to add a bit more heartiness to your rolls. Just keep in mind that using whole wheat might make the rolls slightly denser, but they’ll still be delicious and wholesome.
Q: What’s this about using a bowl of a stand mixer? Can I mix by hand?
A: While using the bowl of a stand mixer makes the process easier and your arms less sore, you can mix by hand. It’s a great way to get those biceps working. Just knead the dough until it’s smooth and elastic, and you’re on your way to becoming a bread master.
Q: How long should I let the rolls bake in the oven?
A: The rolls should bake until they’re golden brown and your kitchen smells like a bakery from heaven. Typically, about 15-20 minutes in the oven should do the trick, but keep an eye on them to avoid any “oops, I burnt them” moments.
Q: Do I need to follow a privacy policy when sharing this recipe?
A: Ha! No privacy policy is needed here, just a willingness to share the joy of fluffy rolls with others. Feel free to pass the recipe along to anyone who loves bread as much as we do!

